Resetting your dashboard lights is a simple process that only takes a few minutes. This blog post will show you how to reset your dashboard lights in three easy steps. Not only will this help improve the look of your dashboard, but it will also help you stay informed about the status of your car. So, if you’re ready to reset your dashboard lights, let’s get started!
🚀Recommended article: How Many Bugattis Are In The World?
How To Reset Warning Lights On the Dashboard?

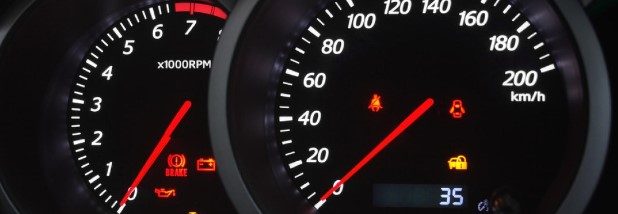
If one or more of the warning lights on your dashboard has come on, it's essential to take action and reset the light as soon as possible. Depending on the severity of the issue, a warning light may indicate a need for immediate attention or signal that maintenance is required.
Resetting a warning light on your dashboard is usually a simple process, but it can vary depending on the make and model of your vehicle. You can often reset a dashboard warning light by disconnecting and reconnecting the battery terminals or using a code scanner to clear any error codes.
If you're unsure how to reset your particular dashboard warning lights, read this article, consult your vehicle's owner's manual, or contact a qualified automotive technician for assistance.
🎯Suggested article: How Many Lamborghinis Are There In The World?
Steps to Reset Dashboard Lights

If one or more of your dashboard lights has stopped working, it may be possible to reset the light(s) by disconnecting and reconnecting the battery. Here are the steps to reset your dashboard lights:
Step One: Prepare The Vehicle
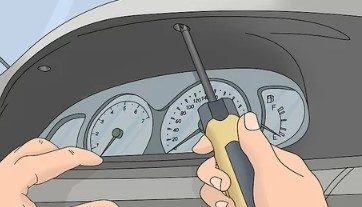
The first step in resetting your dashboard lights is to prepare your vehicle. Ensure the car is parked in a well-ventilated area and you have plenty of time to work. You'll also need to gather a few tools, including a screwdriver and a rag.
Once you have everything you need, disconnect the negative battery cable. This will help prevent any shorts from occurring while you're working.
Step Two: Locate The Fuse Box
If your car has an interior fuse box, it will be under the dash on the driver's side. The fuse box will usually have a cover that needs to be removed to access the fuses.
On the inside of the fuse box cover, there will be a diagram showing which fuse corresponds to which circuit.
Step Three: Identify The Fuses
If you have a blown fuse, the first step is identifying which one has blown. This can be done by looking at the fuses in the box and checking to see if they are burned out. If you cannot tell which fuse has blown, you can use a multimeter to check for continuity.
Step Four: Replace The Fuse
If your dashboard lights have stopped working, it's likely because a fuse has blown. To reset the dashboard lights, you'll need to replace the fuse. Once you've found the blown fuse, remove it and replace it with a new one of the same amperage.
After replacing the fuse, close the box and start your car to test if the dashboard lights are working. If they're still not working, another issue may be at play, and you'll need to consult a mechanic.
👀Look at this: How Much Does A V12 Engine Cost
Is It Safe to Reset Dashboard Lights?

Most dashboard lights will reset themselves after you turn the car off and back on again. However, some will need to be reset manually. Before resetting any dashboard lights, it's essential to check your owner's manual to see if there are any specific instructions for your car.
If you need to reset a dashboard light manually, the process is usually simple. Start by turning off the car's engine and disconnecting the battery. Once the storm is disconnected, press and hold the button or switch that controls the light for several seconds. After a few seconds, the light should reset itself and turn off.
It's generally safe to reset dashboard lights, but checking your owner's manual first is always a good idea. If you're unsure about anything, it's best to consult with a professional mechanic before proceeding.
Resetting your dashboard lights is a relatively straightforward process that can be done at home with a few simple tools. You can reset your dash lights in no time by following the steps outlined in this article. And once you've done it, you'll enjoy peace of mind knowing that your dash lights are functioning correctly.
💥See also: How To Fix Chassis Control System Fault
FAQs About How To Reset Dashboard Lights
What is wrong when all dash lights come on?
At the time of battery replacement, all the dashboard lights turning on at once is a common indication that there may be an issue with the alternator or charging system. Low voltage can cause unusual electrical problems, so it is recommended to have the alternator tested to ensure proper functioning.
Why are all my dashboard lights on after changing the battery?
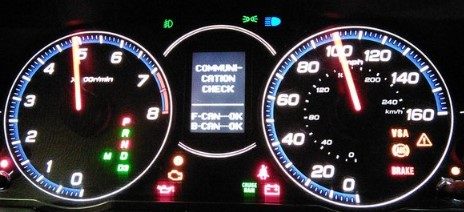
When a battery has been replaced, it is not uncommon for the vehicle to display warning lights upon startup. This may include ABS, ESP, TCS warnings, and other notifications. It is essential to remain calm as this behavior is considered normal.
What causes dashboard lights to go on and off?
It is suggested that flickering dashboard lights indicate an issue with the alternator. The alternator's role in a vehicle includes recharging the battery and operating the electrical components. If it is beginning to fail, it may not be producing sufficient electricity to power all necessary components continuously.
Was this page helpful?


I recently reset my dashboard lights using the steps outlined in this blog post and it was incredibly easy! Not only does my car look better, but now I'm also informed about any issues that might be happening. Thanks for posting this helpful guide!